Who doesn’t love the cozy comfort of a warm, baked apple? It’s like a hug in dessert form.
Whether you’re looking for a simple treat or a show-stopping dessert, baked apples are your answer.
Let’s dive into the sweet simplicity of this classic recipe and discover why it’s a favorite for generations.

The Allure of Baked Apples
What makes baked apples so special? It’s their perfect balance of sweet and tart, combined with the warmth of spices that evoke memories of home.
They’re not just a dessert; they’re a nostalgic experience.
Choosing the Right Apples
The first step to perfect baked apples is picking the right type.
Not all apples are created equal when it comes to baking.
You want apples that hold their shape and have a good balance of sweetness and acidity.
Best Varieties for Baking
Granny Smith, Honeycrisp, and Jonagold are excellent choices.
Granny Smith apples are tart and hold up well during baking, while Honeycrisp and Jonagold offer a sweeter bite without turning mushy.
Organic vs. Conventional
Whenever possible, opt for organic apples.
They might be a bit pricier, but they’re free from pesticides and have a more intense flavor.
Essential Ingredients
Baked apples are wonderfully simple, requiring just a handful of ingredients.
Here’s what you’ll need:
Core Ingredients
- Apples: Choose firm and flavorful varieties.
- Brown Sugar: Adds a deep, caramel-like sweetness.
- Cinnamon: The quintessential spice for baked apples.
- Butter: Gives a rich, creamy texture.
- Nuts: Walnuts or pecans for added crunch.
- Raisins or Cranberries: Optional, but they add a nice chewy texture and extra flavor.
Optional Add-ins
- Nutmeg: A pinch for additional warmth.
- Vanilla Extract: A splash for a fragrant touch.
- Lemon Juice: Helps balance the sweetness.
Preparing the Apples
Preparation is key to achieving the perfect baked apple.
It’s simple but requires a bit of attention to detail.
Coring the Apples
Use an apple corer or a small knife to remove the core, creating a cavity for the filling.
Be careful not to cut all the way through to the bottom.
Making the Filling
Mix brown sugar, cinnamon, and nuts in a bowl.
If you’re using raisins or cranberries, toss them in as well.
This mixture will melt into a delicious sauce as the apples bake.
Baking Process
Now comes the fun part – baking! Preheat your oven to 350°F (175°C).
Stuffing the Apples
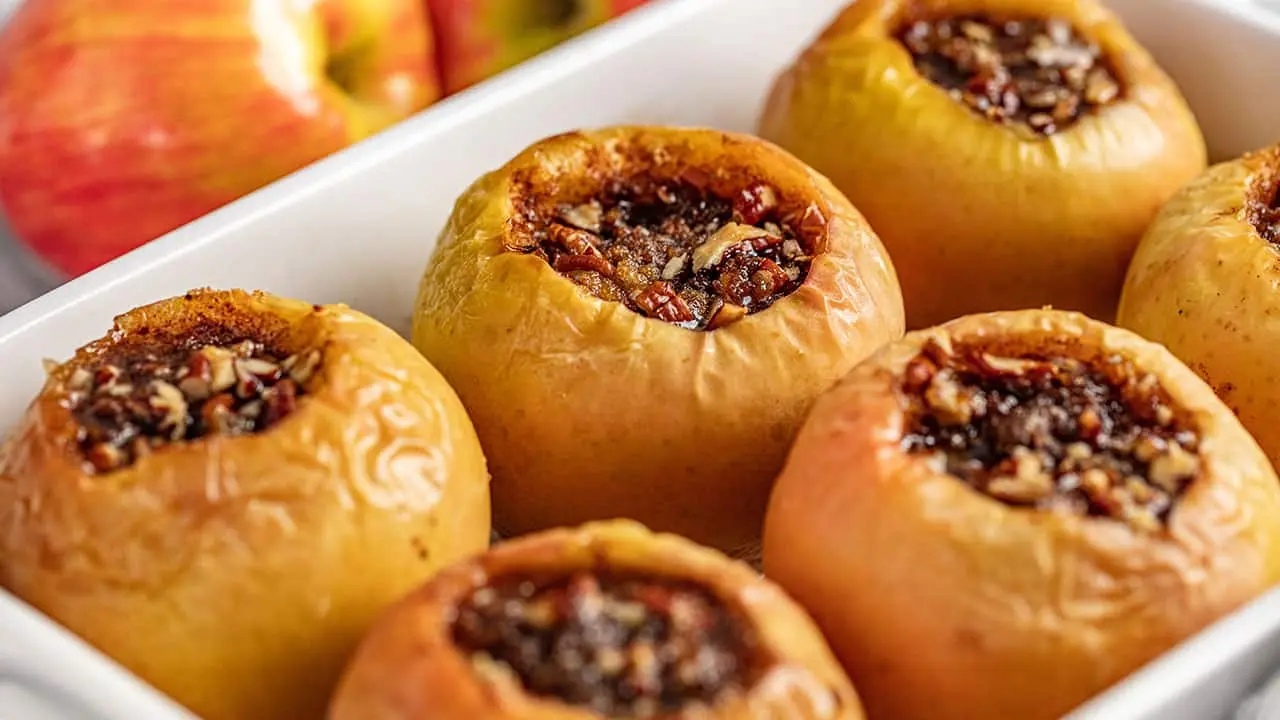
Place the apples in a baking dish and stuff each cavity with the sugar and nut mixture.
Top with a small pat of butter.
Adding Liquid
Pour a little water or apple juice into the bottom of the baking dish.
This keeps the apples moist and helps create a syrupy sauce.
Time and Temperature
Baking Time
Bake the apples for about 45 minutes to an hour.
You’ll know they’re done when they are tender but not mushy.
Checking for Doneness
Insert a knife into the apple. If it slides in easily, your apples are ready.
The skin should be wrinkled and the filling bubbly.

Serving Suggestions
Baked apples are versatile and can be served in various ways.
Classic Style
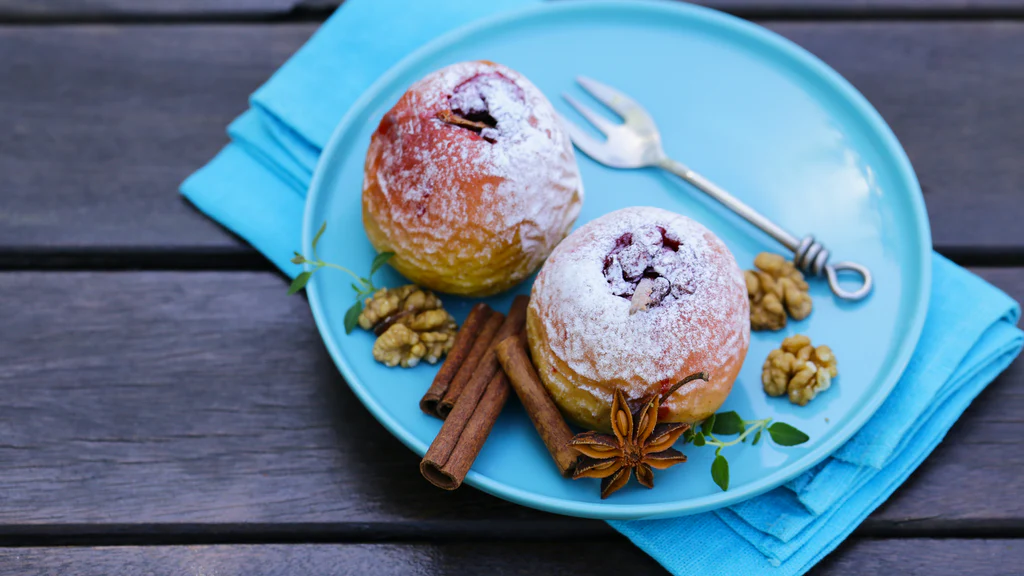
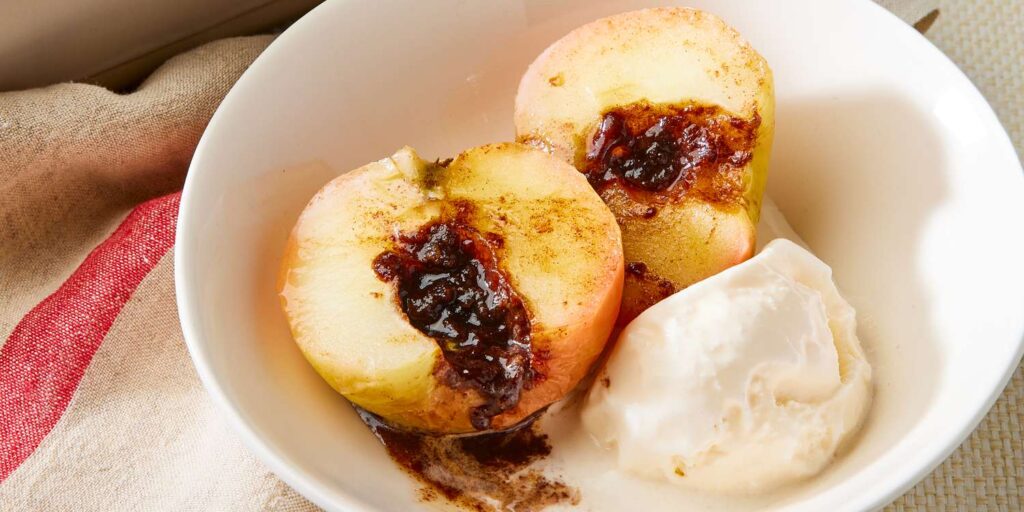
Serve them warm, straight from the oven, with a scoop of vanilla ice cream or a dollop of whipped cream.
Elevated Presentation
For a fancier touch, drizzle with caramel sauce and sprinkle with a bit of sea salt.
It’s the perfect blend of sweet and salty.
Variations on a Classic
Stuffed Baked Apples
Get creative with your fillings.
Try oats and honey for a breakfast twist or chocolate chips for an extra indulgent treat.
Savory Baked Apples
Who says baked apples have to be sweet?
Try stuffing them with sausage, sage, and breadcrumbs for a savory side dish.
Health Benefits of Baked Apples
Besides being delicious, baked apples offer several health benefits.
Nutrient-Rich
Apples are packed with vitamins and minerals, especially vitamin C and potassium.
Baking them retains most of these nutrients.
High in Fiber
The skin of the apple contains fiber, which is great for digestion.
Plus, the added nuts contribute to a healthy, balanced diet.
Making It Kid-Friendly
Fun Shapes
Use cookie cutters to shape the apple pieces before baking.
Stars, hearts, and moons can make this treat more appealing to kids.
Interactive Cooking
Get kids involved in stuffing the apples.
It’s a fun and easy way to teach them about cooking and healthy eating.
Storing and Reheating
Storage Tips
Store leftover baked apples in an airtight container in the refrigerator.
They can last for up to four days.
Reheating Guide
To reheat, simply microwave for a minute or warm them in the oven at 350°F (175°C) for about 10 minutes.
They’ll be just as delicious as when they were first baked.
Pairing with Beverages
Warm Drinks
Pair your baked apples with a hot cup of apple cider or spiced tea for a cozy treat.
Cold Options
For a refreshing contrast, serve with a chilled glass of milk or iced coffee.
Conclusion: The Joy of Simplicity
Baked apples are the epitome of sweet simplicity.
They bring together the best of fall flavors in a dish that’s both nostalgic and incredibly satisfying.
Whether you’re making them for a family gathering or just treating yourself, baked apples are a timeless dessert that never disappoints.
So go ahead, give this recipe a try, and let the aroma of baking apples fill your home.

FAQs
Q1: Can I use other fruits instead of apples?
Yes, pears work wonderfully as a substitute for apples in this recipe. They have a similar texture and bake beautifully.
Q2: Are baked apples healthy?
Absolutely! They’re packed with vitamins and fiber. Just be mindful of the sugar content in the filling.
Q3: Can I make baked apples ahead of time?
Yes, you can prepare the apples and filling ahead of time, then bake them just before serving.
Q4: What if I don’t have an apple corer?
You can use a small knife to carefully remove the core, or even a spoon to scoop out the center.
Q5: How can I make this recipe vegan?
Simply replace the butter with a plant-based alternative like coconut oil or vegan margarine.
